1
2
3
4
5
6
7
8
9
10
11
12
13
14
15
16
17
18
19
20
21
22
23
24
25
26
27
28
29
30
31
32
33
34
35
36
37
38
39
40
41
42
43
44
45
46
47
48
49
50
51
52
53
54
55
56
57
58
59
60
61
62
63
64
65
66
67
68
69
70
71
72
73
74
75
76
77
78
79
80
81
82
83
84
85
86
87
88
89
90
91
92
93
94
95
96
97
98
99
100
101
102
103
104
105
106
107
108
109
110
111
112
113
114
115
116
117
118
119
120
121
122
123
124
125
126
127
128
129
130
131
132
133
134
135
136
137
138
139
140
141
142
143
144
145
146
147
148
149
150
151
152
153
154
155
156
157
158
159
160
161
162
163
164
165
166
167
168
169
170
171
172
173
174
175
176
177
178
179
180
181
182
183
184
185
186
187
188
189
190
191
192
193
194
195
196
197
198
199
200
201
202
203
204
205
206
207
208
209
210
211
212
213
214
215
216
217
218
219
220
221
222
223
224
225
226
227
228
229
230
231
232
233
234
235
236
237
238
239
240
241
242
243
244
245
246
247
248
249
250
251
252
253
254
255
256
257
258
259
260
261
262
263
264
265
266
267
268
269
270
271
272
273
274
275
276
277
278
279
280
281
282
283
284
285
286
287
288
289
290
291
292
293
294
295
296
297
298
299
300
301
302
303
304
305
306
307
308
309
310
311
312
313
314
315
316
317
318
319
320
321
322
323
324
325
326
327
328
329
330
331
332
333
334
335
336
337
338
339
340
341
342
343
344
345
346
347
348
349
350
351
352
353
354
355
356
357
358
359
360
361
362
363
364
365
366
367
368
369
370
371
372
373
374
375
376
377
378
379
380
381
382
383
384
385
386
387
388
389
390
391
392
393
394
395
396
397
398
399
400
401
402
403
404
405
406
407
408
409
410
411
412
413
414
415
416
417
418
419
420
421
422
423
424
425
426
427
428
429
430
431
432
433
434
435
436
437
438
439
440
441
442
443
444
445
446
447
448
449
450
451
452
453
454
455
456
457
458
459
460
461
462
463
464
465
466
467
468
469
470
471
472
473
474
475
476
477
478
479
480
481
482
483
484
485
486
487
488
489
490
491
492
493
494
495
496
497
498
499
500
501
502
503
504
505
506
507
508
509
510
511
512
513
514
515
516
517
518
519
520
521
522
523
524
525
526
527
528
529
530
531
532
533
534
535
536
537
538
539
540
541
542
543
544
545
546
547
548
549
550
551
552
553
554
555
556
557
558
559
560
561
562
563
564
565
566
567
568
569
570
571
572
573
574
575
576
577
578
579
580
581
582
583
584
585
586
587
588
589
590
591
592
593
594
595
596
597
598
599
600
601
602
603
604
605
606
607
608
609
610
611
612
613
614
615
616
617
618
619
620
621
622
623
624
625
626
627
628
629
630
631
632
633
634
635
636
637
638
639
640
641
642
643
644
645
646
647
648
649
650
651
652
653
654
655
656
657
658
659
660
661
662
663
664
665
666
667
668
669
670
671
672
673
674
675
676
677
678
679
680
681
682
683
684
685
686
687
688
689
690
691
692
693
694
695
|
# Universal Theme for Hugo
[](https://codeclimate.com/github/devcows/hugo-universal-theme)
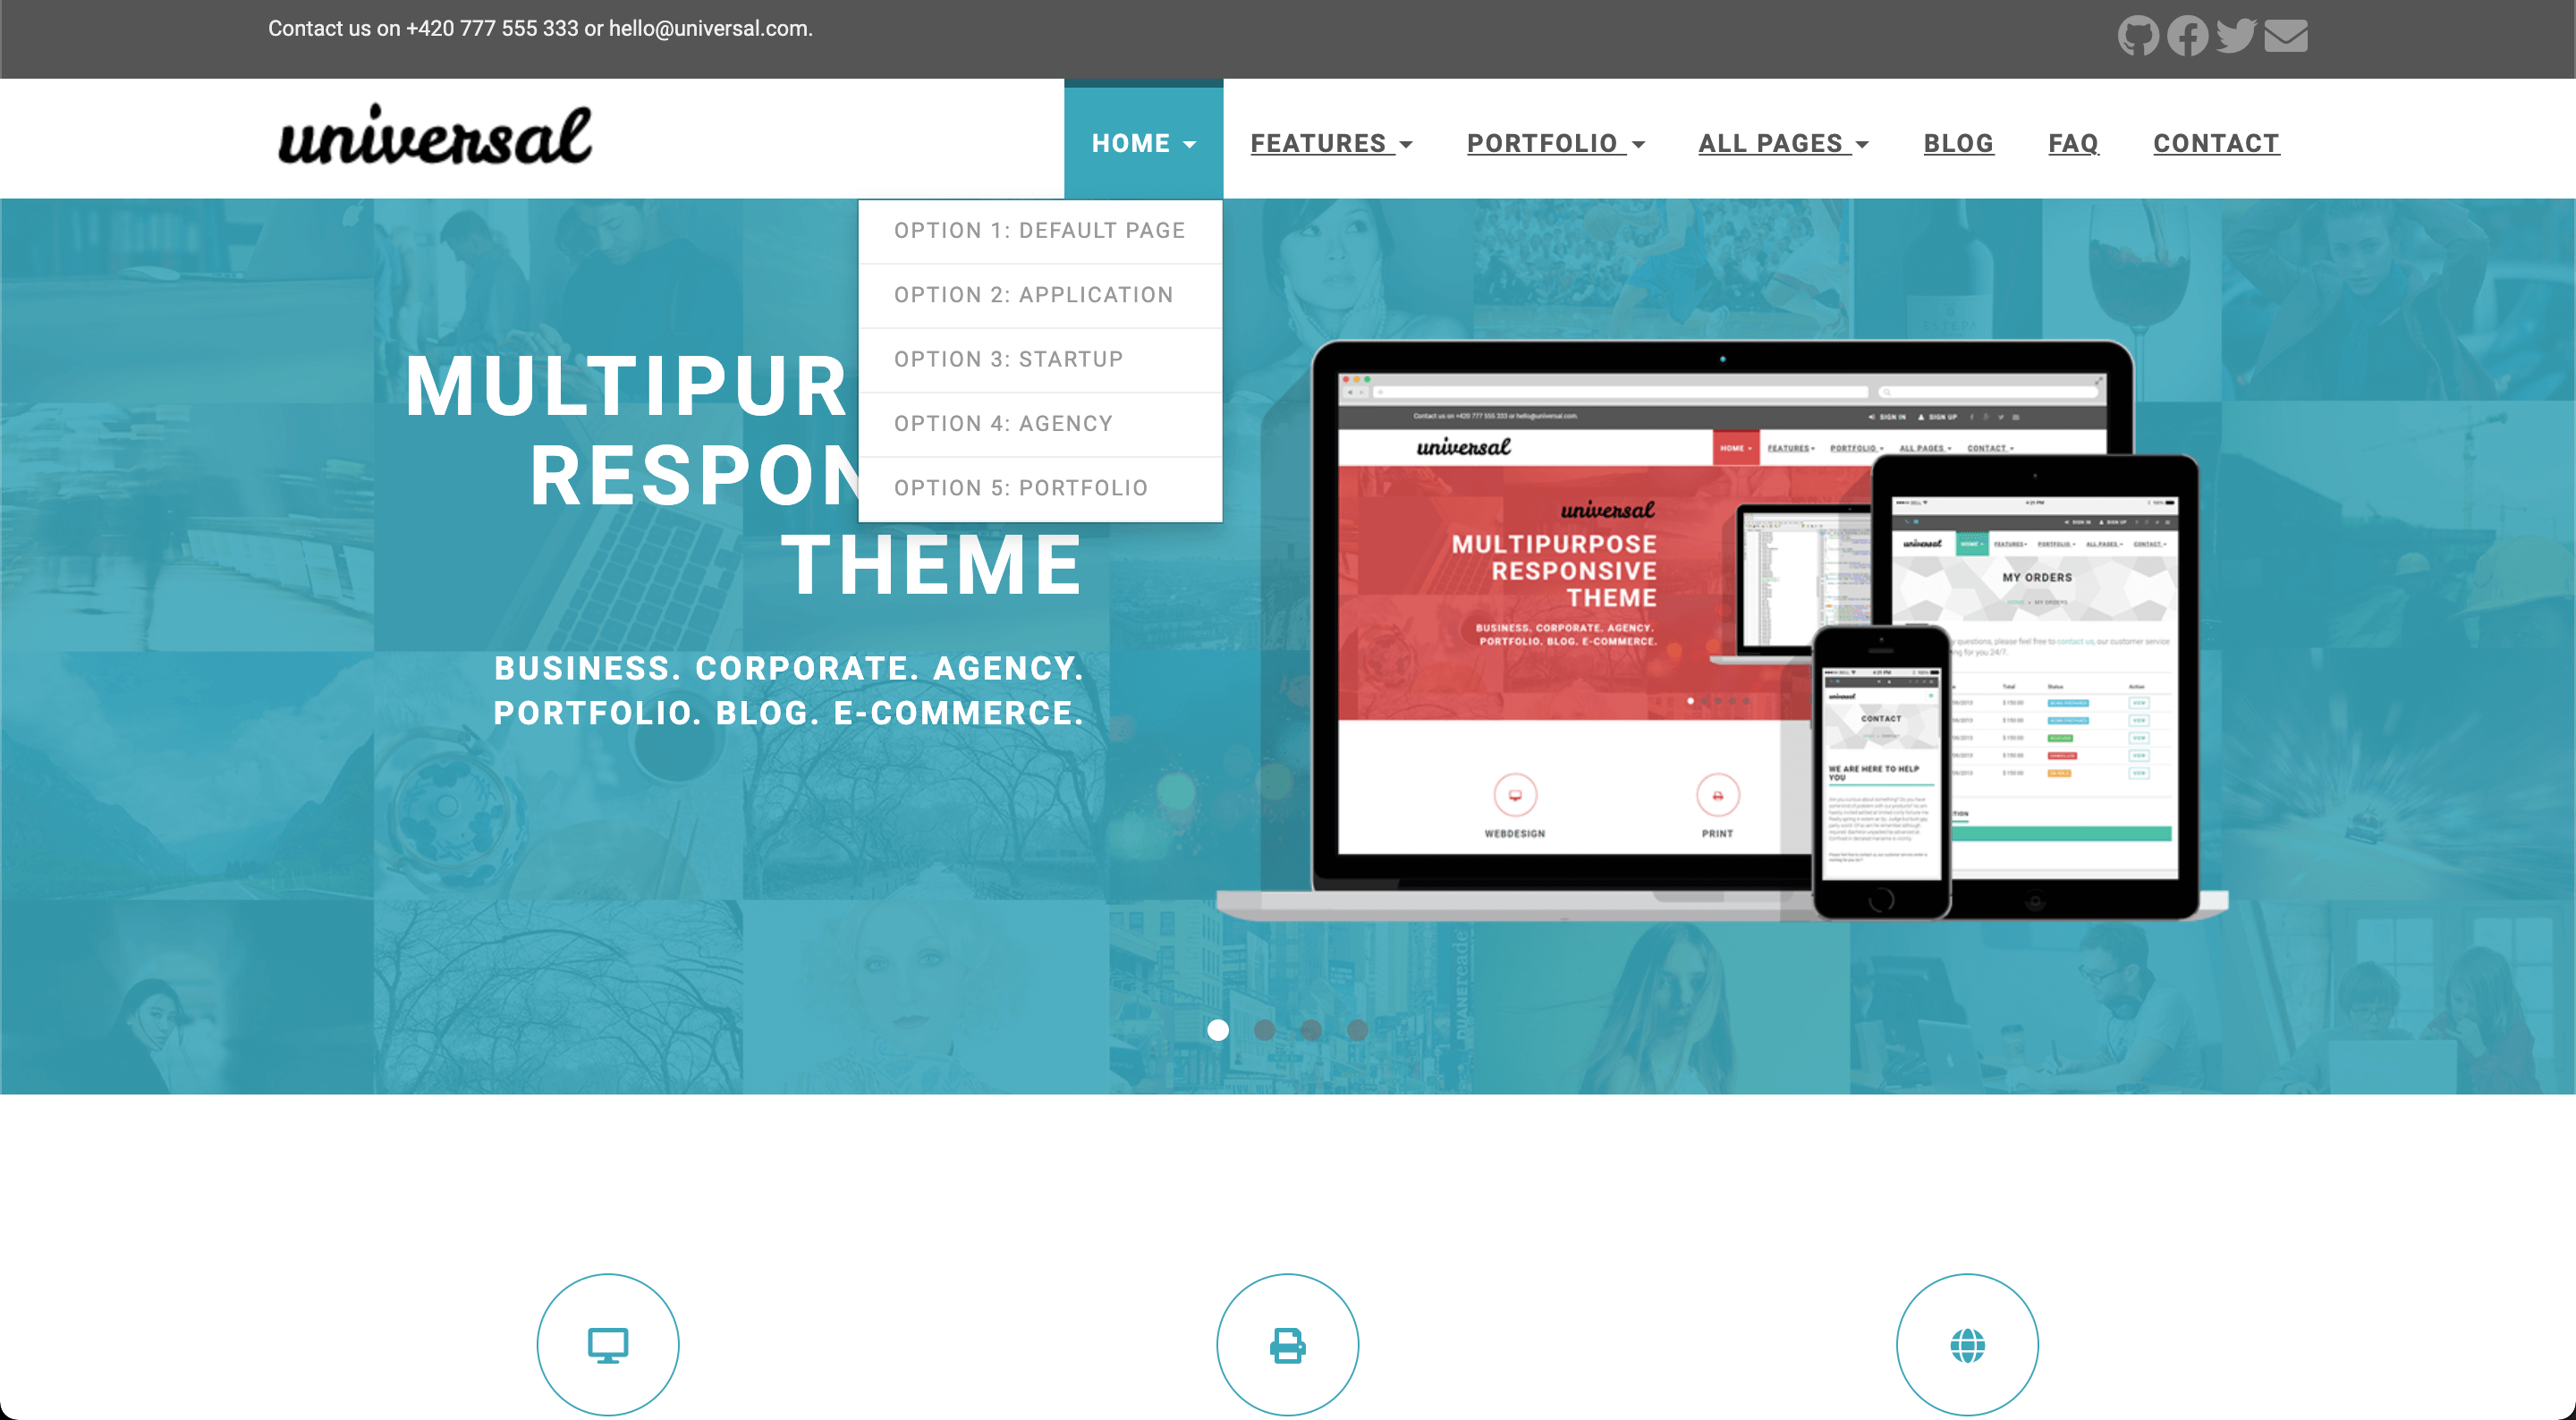
Universal is a clean and stylish website template built with [Bootstrap](https://getbootstrap.com/docs/3.4/getting-started/). It stands out with its clean design and elegant typography.
Demo site: [https://devcows.github.io/hugo-universal-theme](https://devcows.github.io/hugo-universal-theme/)
Sponsor this project:
- [https://paypal.me/ryanfox1985](https://paypal.me/ryanfox1985)
- [https://www.patreon.com/ryanfox1985](https://www.patreon.com/ryanfox1985)
This Hugo theme was ported from [Bootstrapious](http://bootstrapious.com/p/universal-business-e-commerce-template) for training and fun. It has a very nice and customizable landing page, a comments system by Disqus, site search by Google, contact forms by Formspree, Google Analytics, and optional widgets for the sidebar.
## Table of Contents
- [Universal Theme for Hugo](#universal-theme-for-hugo)
- [Table of Contents](#table-of-contents)
- [Features](#features)
- [Installation](#installation)
- [Configuration](#configuration)
- [Language](#language)
- [Style](#style)
- [Comments](#comments)
- [Google Analytics](#google-analytics)
- [Logo](#logo)
- [Contact form](#contact-form)
- [Menu](#menu)
- [Sidebar widgets](#sidebar-widgets)
- [Top bar](#top-bar)
- [Blog post thumbnails](#blog-post-thumbnails)
- [Landing page](#landing-page)
- [Carousel](#carousel)
- [Features](#features-1)
- [Testimonials](#testimonials)
- [See more](#see-more)
- [Clients](#clients)
- [Recent posts](#recent-posts)
- [Footer](#footer)
- [About us](#about-us)
- [Recent posts](#recent-posts-1)
- [Contact](#contact)
- [Meta tags](#meta-tags)
- [Usage](#usage)
- [Contributing](#contributing)
- [License](#license)
- [Thanks](#thanks)
## Features
* Responsive design
* Customizable landing page
* Carousel
* Testimonials
* Features
* Customers
* Recent posts
* Contact form by Formspree
* Google search
* Disqus comments
* Google Analytics
## Installation
Go to the directory where you have your Hugo site and run:
```
$ mkdir themes
$ cd themes
$ git clone https://github.com/devcows/hugo-universal-theme
```
For more information read the official [setup guide](https://gohugo.io/overview/installing/) of Hugo.
## Configuration
After installing the Universal theme successfully, we recommend you to take a look at the [exampleSite](//github.com/devcows/hugo-universal-theme/tree/master/exampleSite) directory. You will find a working Hugo site configured with the Universal theme that you can use as a starting point for your site.
First, let's take a look at the [config.toml](//github.com/devcows/hugo-universal-theme/tree/master/exampleSite/config.toml). It will be useful to learn how to customize your site. Feel free to play around with the settings.
### Language
Available translations are in the `/i18n` directory. You can configure the language modifying the following key.
```toml
defaultContentLanguage = "en"
```
### Style
You can change the color of the theme by modifying the following key.
```toml
style = "default"
```
Available options are: `default` (light-blue), `blue`, `green`, `marsala`, `pink`, `red`, `turquoise`, `violet`.
There is the possibility to override the CSS and set your custom styles, override this file `static/css/custom.css` in your site.
### Comments
The optional comments system is powered by [Disqus](https://disqus.com). If you want to enable comments, create an account in Disqus and write down your shortname.
```toml
disqusShortname = "devcows"
```
You can disable the comments system by leaving the `disqusShortname` empty.
### Google Analytics
You can optionally enable Google Analytics. Type your tracking code in the ``.
```toml
googleAnalytics = "UA-XXXXX-X"
```
Leave the `googleAnalytics` key empty to disable it.
### Logo
A logo can be selected, two parameters `logo` and `logo_small` can be defined. By default `logo` is used for medium and big screens and the `logo_small` value will be used when the site is rendered on small screens. Also there is the possibility to disable the logo and render a alternative text.
```toml
[params]
disabled_logo = false
logo_text = "Universal"
logo = "img/logo.png"
logo_small = "img/logo-small.png"
```
### Contact form
You can optionally create a contact page and include a contact form.
A contact page is just like a regular Hugo page. But it must include the field `id` with the value `contact`.
```toml
+++
title = "Contact"
id = "contact"
+++
```
You can enable or disable the Google Maps widget on the contact page by setting `params.enableGoogleMaps` to `true` or `false` in `config.toml`. Make sure to also provide a valid `googleMapsApiKey` if you decide to enable the widget – otherwise it likely won't work. By clicking on the pin, Google Maps opens a route description with the coordinates `latitude` and `longitude`. Additionally, you can define the `direction` if you want to have another destination for the directions or the Google Maps entry of your company. If `enableGoogleMaps` is set to `false` on the other hand, the subsequent `googleMapsApiKey`, `latitude`, `longitude` and `direction` will be ignored.
Example configuration:
```toml
[params]
enableGoogleMaps = true
googleMapsApiKey = "site_key_for_google_maps"
latitude = "-12.043333"
longitude = "-77.028333"
direction = "Desamparados Station, Distrito de Lima 15001, Peru"
```
Since Hugo sites are static, the contact form uses [Formspree](https://formspree.io/) as a proxy. The form makes a POST request to their servers to send the actual email. Formspree and the submissions for the free plan are limited, [checkout the plans for details](https://formspree.io/plans).
To enable the form in the contact page, just type your Formspree email in the `config.toml` file, and specify whether to use ajax(paid) to send request or plain HTTP POST(free). Also there is the possibility to enable a captcha using recaptcha.
```toml
[params]
email = "your@email.com"
contact_form_ajax = false
enableRecaptchaInContactForm = true
googleRecaptchaKey = "site_key_for_google_recaptcha"
```
### Menu
You can also define the menu items that will appear in the top bar. Edit the `[[params.menu]]` entries to create your menu.
```toml
[[params.menu]]
name = "Contact"
url = "/contact"
weight = 4
```
The `weight` parameter will determine the order of the menu entries. A top level menu item can contain a dropdown with
an optional image, sections and multiple columns of menu items.
To create a single list of menu items in the dropdown, first give your top level menu item unique identifier:
```toml
[[menu.main]]
name = "Home"
identifier = "menu.home"
url = "/"
weight = 1
```
Now create additional menu items and use the above unique identifier as the value for the parent attribute:
```
[[menu.main]]
name = "Option 1: Default Page"
url = "/"
weight = 1
parent = "menu.home"
[[menu.main]]
name = "Option 2: Application"
url = "/"
weight = 2
parent = "menu.home"
```
It is also possible to display a dropdown menu with 4 columns. This theme supports 2 variations:
* 4 columns of menu items with sections
* 2 column wide image + 2 columns of menu items with sections
To display 4 columns of menu items, start using sections. Sections are menu items treated special by this theme:
```
[[menu.main]]
name = "All Pages"
identifier = "menu.allpages"
url = ""
weight = 4
[[menu.main]]
name = "Home"
identifier = "section.ap-home"
url = ""
weight = 1
parent = "menu.allpages"
post = 1
[[menu.main]]
name = "Portfolio"
identifier = "section.ap-portfolio"
url = ""
weight = 1
parent = "menu.allpages"
post = 2
[[menu.main]]
name = "Shop"
identifier = "section.ap-shop"
url = ""
weight = 1
parent = "menu.allpages"
post = 3
[[menu.main]]
name = "Blog"
identifier = "section.ap-blog"
url = ""
weight = 3
parent = "menu.allpages"
post = 4
[[menu.main]]
name = "Blog Listing Big"
url = "/blog/"
weight = 1
parent = "section.ap-blog"
```
The above example shows a reduced version of the *All Pages* menu item from the example site. As you can see,
we first create menu items with an identifier starting with `section.`. If you create entries like this, these
will appear as section headers in your drop down.
Each of these entries contain values for both the `weight` and `post` attribute. The `post` attribute is hijacked
to indicate in which column a section will be put in. Within a column, the `weight` value is respected to show the
sections top to bottom.
Use to the unique section identifier (e.g. `section.ap-blog`) as the `parent` value to add a menu item to a specific
section. Using `weight` and `post` on the sections allow you to balance the columns with approximately the same
amount of entries.
To display a 2 column wide image and 2 columns of menu items, the process is similar as above. However, we hijack
the `url` field of the top level menu item to link the image from our static assets:
```
[[menu.main]]
name = "Portfolio"
identifier = "menu.portfolio"
url = "/img/template-homepage.png"
weight = 3
```
When a `url` is filled in, only column 1 and 2 (the `post` value in the section menu items) will be displayed.
When using an image, don't configure section menu items in column 3 or 4. **These will not be rendered.**
**Important:** Do not change the `identifier` key of existing menu entries!
### Sidebar widgets
You can enable/disable the sidebar widgets that will be shown in the blog section. The following widgets are currently available:
* Search bar (powered by Google)
* Categories list
* Tags list
You can enable/disable them under `params.widgets`.
```toml
[params.widgets]
search = true
categories = true
tags = true
```
### Top bar
The top bar is typically used to provide contact information and social links. It is disabled by default, and it can be enabled inside the `params.topbar` settings.
```toml
[params.topbar]
enable = true
text = "<p>Contact us on +420 777 555 333 or hello@universal.com.</p>"
```
The `text` shows up on the left side and accepts HTML.
The social links on the right side are configured as a top-level menu.
```toml
[[menu.topbar]]
weight = 1
name = "GitHub"
url = "https://github.com/devcows/hugo-universal-theme"
pre = "<i class='fas fa-2x fa-github'></i>"
[[menu.topbar]]
weight = 2
name = "Facebook"
url = "http://facebook.com"
pre = "<i class='fas fa-2x fa-facebook'></i>"
```
### Menu behavior
The dropdown menu is displayed by default when the user clicks on the menu item. However, you can also use the `dropdown_mouse_over` setting to change this behavior and use the mouse over instead.
```toml
[params]
dropdown_mouse_over = true
```
### Blog post thumbnails
After creating a new post you can define a banner by entering the relative path to the image.
```toml
banner = "img/banners/banner-4.jpg"
```
It must contain a relative path to the banner inside the `static` directory.
### Landing page
The landing page consists in many sections that can be activated and configured individually. Let's go through all sections from top to bottom.
#### Carousel
The carousel content is configured in the data directory.
```
data
└── carousel
├── customizable.yaml
├── design.yaml
├── features.yaml
└── multipurpose.yaml
```
Each carousel entry is represented as a YAML file inside `data/carousel`. Let's see the `customizable.yaml` as an example of a carousel entry.
```yaml
weight: 4
title: "Easy to customize"
description: >
<ul class="list-style-none">
<li>7 preprepared colour variations.</li>
<li>Easily to change fonts</li>
</ul>
image: "img/carousel/template-easy-code.png"
href: "https://devcows.github.io/hugo-universal-theme/"
```
The `weight` field determines the position of the entry. `title` is a text-only field. The `description` field accepts HTML code. The `image` must contain the relative path to the image inside the `static` directory. The optional `href` field contains a relative or absolute url that the user will be redirected to when clicking the carousel (specific to each carousel item).
Once the carousel is configured, some options can be defined like: auto play, speed, etc. in the `config.toml` file.
```toml
[params.carouselHomepage]
enable = true
auto_play = true
slide_speed = 2000
pagination_speed = 1000
```
#### Features
Features are also defined in the `data` directory just like the carousel:
```
data
└── features
├── consulting.yaml
├── email.yaml
├── print.yaml
├── seo.yaml
├── uiux.yaml
└── webdesign.yaml
```
The content of the `consulting.yaml` example feature file looks like this:
```yaml
weight: 4
name: "Consulting"
icon: "fas fa-lightbulb"
url: ""
description: "Fifth abundantly made Give sixth hath. Cattle creature i be don't them behold green moved fowl Moved life us beast good yielding. Have bring."
```
The meaning of the individual YAML keys is as follows:
| Key | Description |
| --- | ----------- |
| `weight` | A means to set the order of multiple features; features with a lower `weight` are displayed first (left to right, top to bottom) |
| `name` | The title text below the feature icon; Markdown is supported |
| `icon` | The CSS class of the feature icon; in this example we have used icons powered by [FontAwesome](http://fontawesome.io/icons/) |
| `url` | An optional URL the feature icon should point to; if specified, the icon will become a clickable hyperlink |
| `description` | A short text below the title text to describe the feature; Markdown is supported |
Once you have completed your features, enable them in the `config.toml` file. Also the number of elements per row can be defined, by default is 3 (choose a divisor of 12 like 2, 3, 4 or 6).
```toml
[params.features]
enable = true
cols = 3
```
#### Testimonials
Testimonials are defined in the `data` directory.
```
data
└── testimonials
├── 1.yaml
├── 2.yaml
├── 3.yaml
├── 4.yaml
└── 5.yaml
```
You can add as many testimonials files as you want. Be sure you fill in all fields as in the following example.
```yaml
text: "One morning, when Gregor Samsa woke from troubled dreams, he found himself transformed in his bed into a horrible vermin. He lay on his armour-like back, and if he lifted his head a little he could see his brown belly, slightly domed and divided by arches into stiff sections."
name: "John McIntyre"
position: "CEO, TransTech"
avatar: "img/testimonials/person-1.jpg"
```
Then, enable it in the configuration file and add a title and subtitle.
```toml
[params.testimonials]
enable = true
title = "Testimonials"
subtitle = "We have worked with many clients and we always like to hear they come out from the cooperation happy and satisfied. Have a look what our clients said about us."
```
#### See more
This section is used to provide a link to another place. It can be an external site, or a page or post within your Hugo site.
You can enable it in the configuration file.
```toml
[params.see_more]
enable = true
icon = "far fa-file-alt"
title = "Do you want to see more?"
subtitle = "We have prepared for you more than 40 different HTML pages, including 5 variations of homepage."
link_url = "http://your-site.com/more"
link_text = "Check other homepages"
```
#### Clients
The clients section is used to show a list of logos of companies you have collaborated with. The clients are defined in the `data` directory as YAML files.
```
data
└── clients
├── 1.yaml
├── 2.yaml
├── 3.yaml
├── 4.yaml
├── 5.yaml
└── 6.yaml
```
Each client file contains the following information.
```yaml
name: "customer-1"
image: "img/clients/customer-1.png"
url: "http://www.customer-1.com"
```
The `name` of the client. `image` is a relative path to the logo inside the `static` directory. And `url` is an optional field in case you want to link the logo to the client's website.
Then, you can enable the section in the configuration file.
```toml
[params.clients]
enable = true
title = "Our Partners"
subtitle = "We have proudly collaborated with the following companies."
```
#### Recent posts
The recent posts sections shows the four latest published blog posts, with their featured image and an optional summary. It defaults to show recent posts from all [main sections](https://gohugo.io/functions/where/#mainsections). This is either the section with the most posts or can be set explicitly in the configuration file (see linked docs).
You can enable it in the configuration file.
```toml
summaryLength = 70
[params.recent_posts]
enable = true
title = "From our blog"
subtitle = "Pellen"
hide_summary = false
```
Recent posts use `.Summary` property and by default, Hugo automatically takes the first 70 words of your content as its summary and stores it into the `.Summary` page variable for use in your templates. You may customize the summary length by setting summaryLength in your site configuration.
When setting the `hide_summary` configuration property to `true` the summary will be hidden on the recent posts as well as the blogs list page.
#### Footer
In the footer there are three blocks customizables: `About us`, `Recent posts` and `contact`. Each block can be set via parameters.
##### About us
A text can be defined, in case there is no text defined the entire block will be hidden:
```toml
[params]
about_us = "<p>Pellentesque habitant morbi tristique senectus et netus et malesuada fames ac turpis egestas.</p>"
```
##### Recent posts
Recent posts block can be enabled or disabled (hidden).
```toml
[params.footer.recent_posts]
enable = true
```
##### Contact
In contact section there is a button to redirect to contact page, there is the possibility to customize the url also a contact text can be defined, in case there is no text defined the entire block will be hidden:
```toml
[params]
contact_url = "/contact"
address = """<p class="text-uppercase"><strong>Universal Ltd.</strong>
<br>13/25 New Avenue
<br>Newtown upon River
<br>45Y 73J
<br>England
<br>
<strong>Great Britain</strong>
</p>
"""
```
### Meta tags
The following [HTML metadata](https://www.w3schools.com/tags/tag_meta.asp) can be set for every page. While the default value for some of them can be defined in `config.toml`, all of these properties can also be set through the respective [Hugo front matter variables](https://gohugo.io/content-management/front-matter/#front-matter-variables):
| HTML meta `name`/`property` | Hugo front matter variable | Default variable in `config.toml` |
| :------------------------------------------------------- | :------------------------- | :-------------------------------- |
| `article:author` | `facebook_author` | - |
| `article:publisher` | `facebook_site` | `facebook_site` |
| `author` | `author` | - |
| `description` / `og:description` / `twitter:description` | `description` | `defaultDescription` |
| `keywords` | `keywords` | `defaultKeywords` |
| `og:image` / `twitter:image` | `banner` | `default_sharing_image` |
| `title` / `og:title` / `twitter:title` | `title` | - |
| `twitter:creator` | `twitter_author` | - |
| `twitter:site` | `twitter_site` | `twitter_site` |
Besides, certain [Open Graph](http://ogp.me/) metadata is automatically set:
- `article:published_time`, `article:modified_time`, `og:updated_time` and `article:expiration_time` are set based on [Hugo's (predefined) front matter variables `date`, `publishDate`, `lastmod` and `expiryDate`](https://gohugo.io/content-management/front-matter/#predefined).
- `article:section` and `article:tag` are set based on [Hugo's `categories` and `tags` taxonomies](https://gohugo.io/content-management/taxonomies/#default-taxonomies). Since there can only be one `article:section`, only the first element of the `categories` array is used as `article:section`.
You can set default values for all pages in the `config.toml` file as below:
```toml
[params]
defaultKeywords = ["devcows", "hugo", "go"]
defaultDescription = "Site template made by Devcows using Hugo"
default_sharing_image = "img/sharing-default.png"
facebook_site = "https://www.facebook.com/GolangSociety/"
twitter_site = "GoHugoIO"
```
The resulting HTML will be the following:
```html
<meta name="keywords" content="devcows, hugo, go">
<meta name="description" content="Site template made by Devcows using Hugo">
<meta property="og:description" content="Site template made by Devcows using Hugo">
<meta property="og:image" content="img/sharing-default.png">
<meta property="og:image:type" content="image/png">
<meta property="og:image:width" content="800">
<meta property="og:image:height" content="420">
<meta property="article:publisher" content="https://www.facebook.com/GolangSociety/">
<meta name="twitter:description" content="Site template made by Devcows using Hugo">
<meta name="twitter:site" content="@GoHugoIO">
```
You can also override the default values from the `config.toml` by setting the respective keys in the individual pages front matter. As an example, here's the front matter from the [`faq.md` file](exampleSite/content/faq.md) in the [`exampleSite` directory](exampleSite):
```yaml
+++
title = "FAQ"
description = "Frequently asked questions"
keywords = ["FAQ","How do I","questions","what if"]
+++
```
Which results in the following HTML:
```html
<title>FAQ</title>
<meta name="keywords" content="FAQ,How do I,questions,what if">
<meta name="description" content="Frequently asked questions">
<meta property="og:description" content="Frequently asked questions">
<meta name="twitter:description" content="Frequently asked questions">
```
If your site needs a custom Javascript library or CSS style you can override this file `layouts/partials/custom_headers.html` with the proper content like:
```html
<script src="https://ajax.googleapis.com/ajax/libs/jquery/3.4.1/jquery.min.js"></script>
```
## Usage
In order to see your site in action, run Hugo's built-in local server.
```
$ hugo server -w
```
Now enter [`localhost:1313`](http://localhost:1313) in the address bar of your browser.
For more information check out the official [Hugo documentation](http://gohugo.io/overview/usage/).
## Contributing
Did you find a bug or do you have an idea for a new feature? Feel free to use the [issue tracker](https://github.com/devcows/hugo-universal-theme/issues) to let us know. Or make a [pull request](https://github.com/devcows/hugo-universal-theme/pulls) directly.
## License
This port is released under the MIT License. Check the [original theme license](http://bootstrapious.com/p/universal-business-e-commerce-template) for additional licensing information.
## Thanks
Thanks to [Steve Francia](https://github.com/spf13) for creating Hugo and the awesome community around the project. And also thanks to [Bootstrapious](http://bootstrapious.com/) for creating this awesome theme.
|
